Commercial Roof Inspection Checklist: What to Expect From Professional Services
February 17, 2021
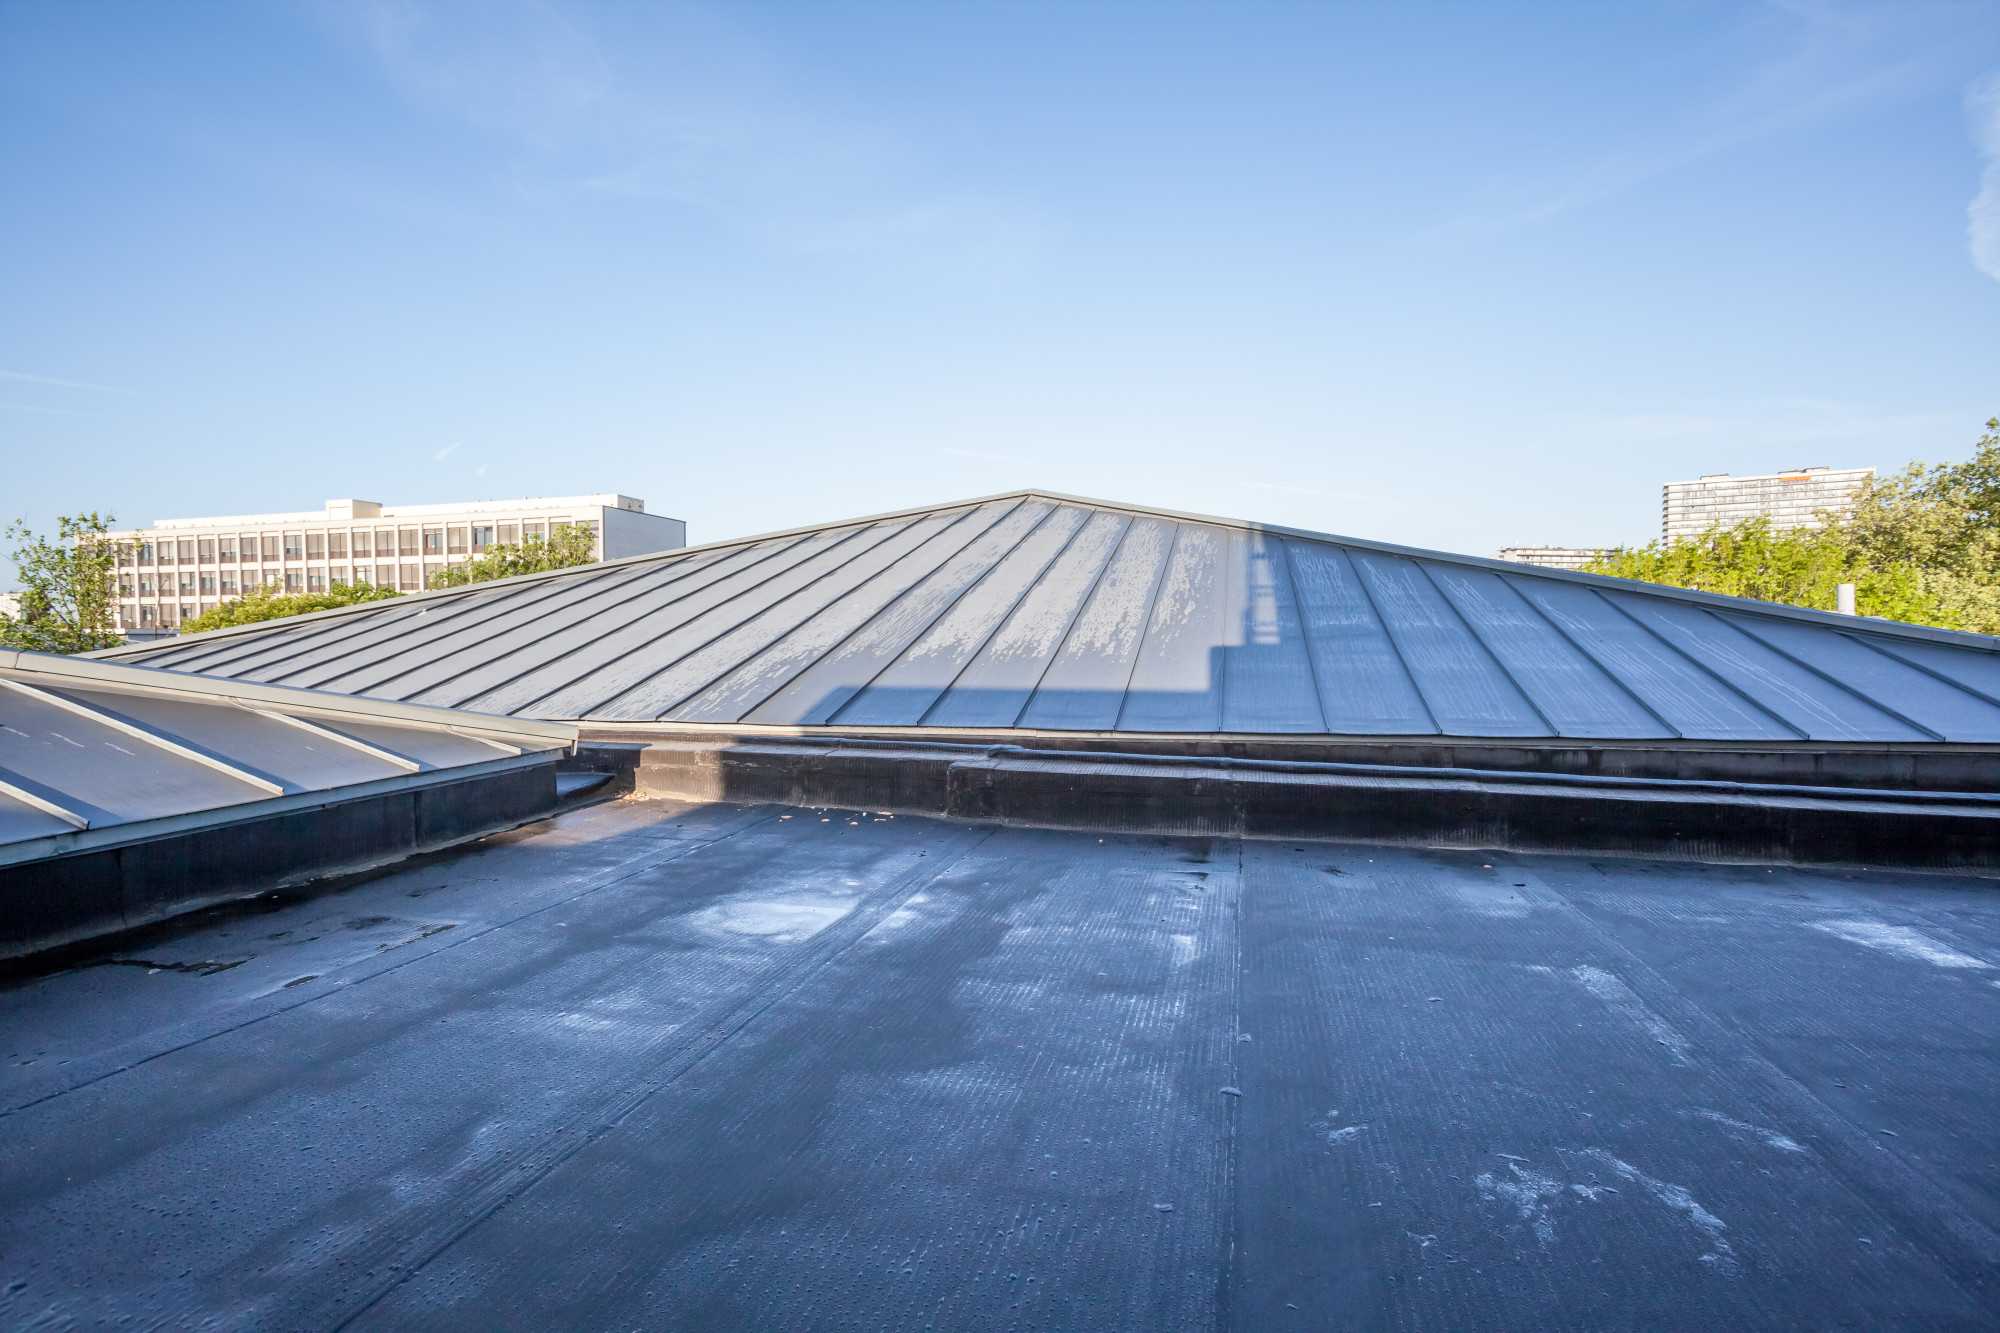
A commercial roofing inspection checklist covers the membrane and seams, drains, penetrations and rooftop equipment, the roof perimeter, and the interior below. Most commercial roofs should be inspected at least twice a year, plus after severe weather.
The total market size for roofing contractors in the U.S. should reach an astounding $45.9 billion in 2021.
The evidence is here that a new generation of commercial roofing needs attention from local professionals. If you feel like you’re always throwing water overboard to stay afloat, a clear plan helps. This guide walks you through a commercial roofing inspection checklist you can start on your own, and what a trained professional should check when they arrive.
Why Commercial Roofs Need a Roof Inspection Checklist
Commercial roofs face more stress than a typical homeowner’s roof, with sun, wind, rain, and foot traffic exposing them to the elements every day. Whatever roof systems your property uses, small problems like open seams, clogged drains, or worn sealant rarely stay small. A regular checklist helps you track the roof’s condition over time, catch damage early, and avoid premature roof replacements that cost far more money than routine repairs.
How Often to Schedule an Inspection
Commercial roof inspections at least twice yearly are recommended, ideally in spring and fall. The spring visit looks for wear left by winter weather, and the fall visit prepares the roof for the wet season.
Plan additional inspections:
- After a storm, high winds, or other severe weather
- After HVAC or other rooftop equipment work, or heavy contractor foot traffic
- More often for older or heavily trafficked roofs
Manufacturer warranties and insurance policies may also require documented annual or semiannual professional inspections, so keep a record of every visit.
Your Commercial Roofing Inspection Checklist: A Step-by-Step Guide
Before you climb up, put safety first. Use a secured ladder, stay well back from any roof edge, and leave anything that looks unsafe to a professional.
Inspect the Flashing
The flashing of any commercial roof is the thin metal surrounding the roof’s skylights, chimneys, and vents. It exists to lead water away from the places where it could cause the most damage. When heavy rainfall occurs, it whisks the precipitation from where it’s possible to create leaks into the roof deck.
Look for cracks where moisture could enter, especially at points where it transitions from flat to vertical. Peeling, cracking, or pitted caulking are signs of degradation also. Inspect the seal around parapet walls, expansion joints, and base flashings, and look for rust on metal components. If the property has a chimney, crumbling mortar is another weak spot.
Look for Standing Water
When the drainage system for your commercial roof becomes clogged, you’re likely to find ponding. Water that remains on a flat roof more than 48 hours after rain is considered ponding. If you notice discolored stains near drains, that’s a sign that standing water remained unnoticed. It’s crucial to know what underlying damage may have occurred.
If you find pooling on the roof before your inspection, remove it as soon as possible. Take pictures to send to a contractor and do your best to discover how long the damage has existed.
While you’re looking at these areas, look at what’s underneath it. Pooling frequently sits right on top of old repairs where someone stacked layer after layer of asphalt patch over the same leak. Those built-up patches block the slope the roof was designed to drain along, so the low spot keeps filling. A good inspection notes not just where water sits but why, because the fix may be leveling and properly repairing that area, not adding yet another layer on top.
Clean Debris from the Roof
A commercial roof littered with debris from nearby trees is likely to have drainage issues somewhere in its delicate system. Remove the leaves, branches, or animal nests right away, and take note of what you found. Clear roof drains, internal drains, and scuppers, then share what you found with your contractor to organize a maintenance plan specific to your location.
Allowing bird nests or other animals to settle in can attract more issues down the road. On sloped sections, watch for moss as well, since it holds moisture against the surface.
Inspect the Gutters and Downspouts
If you find pooling around a drain, look at the gutters next. If they’re not doing their job, expensive damage can happen between inspections. Overflow from a clogged gutter can soak the fascia and soffit, and downspouts that empty too close to the building can send runoff toward the foundation.
If you haven’t already, establish a regular schedule for inspecting and cleaning the gutter system. Being honest about the current state with your contractor will go a long way.
Inspect the Roof Field for Cracks and Tears
The “roof field” refers to everything on your roof that’s not in the perimeter or flashing. The membrane of commercial roofing systems may show signs of tearing along the deck. On TPO, EPDM, and PVC roofs, look for punctures, cracks, blisters, tears, shrinkage, and seams that are lifting or separating. On modified bitumen, watch for delamination between layers.
Cuts can exist that aren’t obvious to the naked eye. When in doubt, make sure to ask a contractor about a flood test to discover the source of a leak.
Inspect the Roof Edge, Penetrations, and Rooftop Equipment
Inspect gravel stops, drip edges, and coping caps for wind lift or detached pieces. Then examine every penetration, including pipes, exhaust vents, skylights, and rooftop units, for cracked seals, failing sealant, or loose fasteners. Solar panels and HVAC equipment add more entry points to watch.
On smaller properties with sloped sections, look for any missing shingle or cracked tile, the same storm damage a homeowner would look for. A lifted shingle can let wind-driven rain inside.
Your Contractor’s Roof Inspection Checklist
Now that you’re prepared to get the most out of an inspection, what should you expect? A trained, certified inspector follows a set standard and documents everything.
Interior Roof Inspection
A local contractor won’t know the interior of your building until they’ve performed a proper inspection. Take the representative to locations with discoloration on the ceiling or suspected leaks right away. They will examine ceilings and walls for stains, active leaks, damp spots, peeling paint, or mold.
After discussing the known problem areas, a trip to the attic or roof space should happen next. Don’t accept an inspection as completed before this happens. A contractor can’t understand the challenges from top to bottom unless they also check for ventilation, mold, and proper insulation. In the attic, they should also look at the roof’s underside and rafters for rust, sagging, or structural damage, and look for moisture buildup.
Exterior Roof Inspection by a Trained Professional
Even if you have shared pictures and information from your checklist, a contractor should insist on completing a professional external inspection. They will look for the issues above, and the following:
- Failing repair jobs
- Clogs in drainage pipes
- Damage to the roof’s exterior
- Ice dams or the potential for them to form
- Poor ventilation in the roof’s air intake system
- Defective or improper flashing that needs repair
A contractor may suggest additional testing after the first inspection. Infrared moisture scans use thermal imaging to detect water beneath the membrane or insulation, so hidden water intrusion can be found before it spreads. If leaks exist that don’t have an immediate explanation, a reputable business will want to know the source before placing a bid.
Bidding Process and Assessment Costs
A professional commercial roofing contractor will give you a written estimate with recommendations and details about the materials. A reputable business will be eager to share references and provide realistic expectations. The price of an assessment depends on the building’s square footage, layout complexity, and inspection type. The cost of commercial roof inspection services should only be around $150 to $500 unless it’s a complicated job.
Benefits of a Commercial Roof Inspection
It’s never too early to have a professional look. The unfortunate truth is that most contractors don’t receive a call until panic takes hold. You don’t want to wait too long and have a much more expensive investment on your hands. The proven benefits of getting a commercial roof inspection include:
- Extending the life of the roof
- Early detection of pricey problems
- insurance claims for repairs
- New maintenance plans that cut costs
A dry, well-maintained roof protects your property, your roof lifespan, and your bottom line. Each inspection record also builds a maintenance history you can share with a buyer if you ever sell the property.
Roof Leak and Storm Damage Questions
How often should a commercial roof be inspected?
Inspections at least twice yearly are recommended, plus after severe weather or rooftop work.
What does an inspector look at?
They examine the membrane, seams, drains, penetrations, and rooftop equipment, and note the condition of each roofing material. Then they move inside to look for moisture, mold, and sagging.
Can an inspection find hidden problems?
Yes. A flood test or infrared scan can trace problems that aren’t visible from the surface.
Do You Need a Commercial Roof Inspection?
Once you understand what to expect from commercial roofing professionals, you can find one that aligns with your needs and keeps your roof ready for the elements. That process begins with starting your checklist and watching for the signs of a reputable contractor.
For answers to anything you want to know, contact us through our website, or give us a call today at 909-521-1285.
Need a Commercial Roofing Assessment?
Get a Free EstimateTags